DIY Rosewater Facial Hydrating Toner
DIY Rosewater Facial Hydrating Toner: A Refreshing Skincare Essential! Ready to give your skin a refreshing treat that smells like a walk through a blooming garden? Let’s talk about rosewater toner—the ultimate DIY beauty essential that’s easy to make, gentle on your skin and bursting with natural goodness.
Purpose and functionality of Facial toners:
- Restore your skin’s pH balance
- Remove leftover traces of makeup or cleanser
- Tighten pores
- Hydrate and refresh your skin
While store-bought toners often contain alcohol and synthetic fragrances that can dry or irritate sensitive skin, a DIY version allows you to control exactly what you’re putting on your face. This is where I am at lately, our skin is our biggest organ, everything we put on our skin gets soaked into it. So we need to be mindful of what products we are using on our skin.

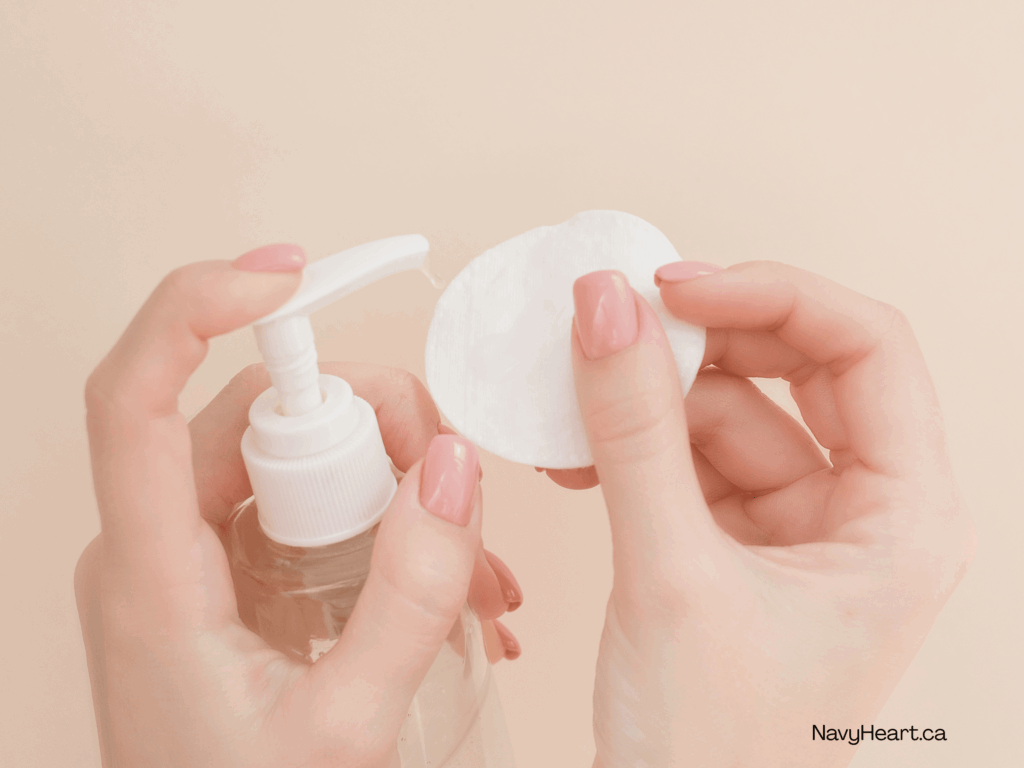
I don’t know about you, but after a long day I can wash my face twice and take a cotton pad soaked with toner and there is still make-up that comes off on the cotton pad. We do NOT want to go to sleep without doing this step. Even if make-up isn’t your thing, there is still so much dust particles that end up on our skin, using a toner is the way to go. This definitely ensures a fresh, clean face to put down on your pillow at the end of the day.
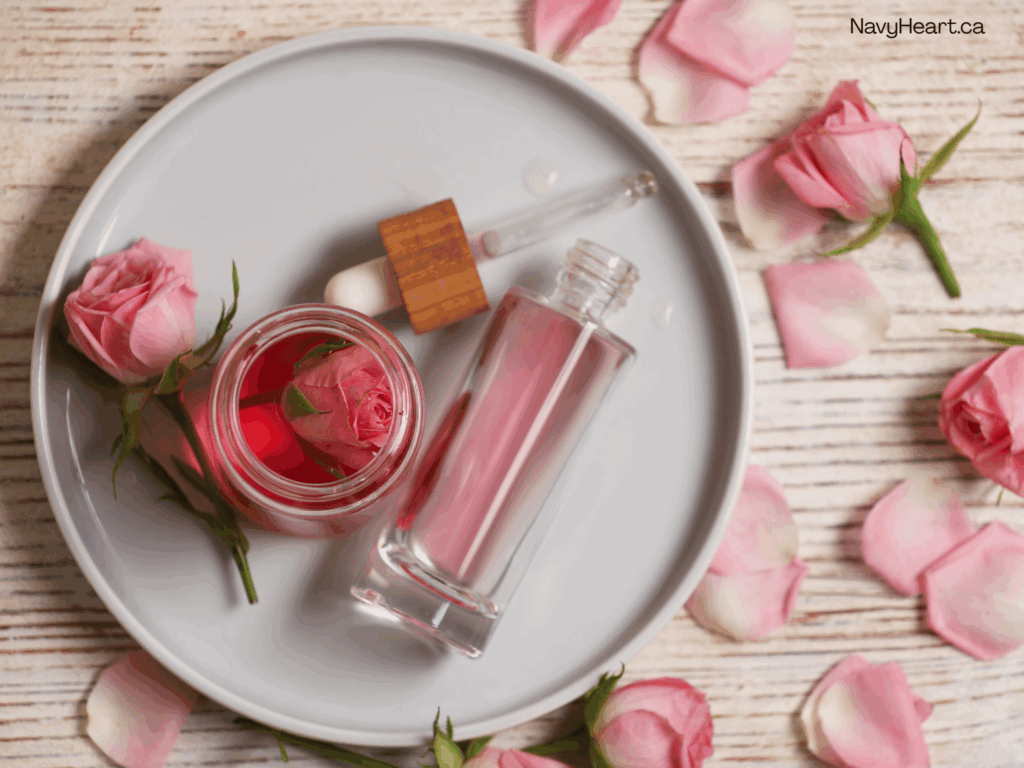
The Main Ingredient: Rosewater
Rosewater has been used in beauty routines for centuries. It’s:
- Anti-inflammatory
- Hydrating
- Soothing for sensitive or acne-prone skin
- Naturally fragrant and uplifting
You can buy organic rosewater or make your own at home by simmering fresh rose petals in distilled water.
Let’s Make It! Here’s the DIY Rosewater Facial Hydrating Toner Recipe
Ingredients:
- 1/2 cup rosewater (store-bought or homemade)
- 1/4 cup alcohol-free witch hazel (tightens pores without drying)
- 1 tsp aloe vera gel (optional for extra hydration)
- 3–5 drops essential oil (optional: tea tree for acne-prone skin, geranium for balancing, or lavender for calming)
Instructions:
- Combine all ingredients in a clean glass spray bottle or jar.
- Shake well before each use.
- Store in a cool, dark place for up to 1 month (or refrigerate for longer shelf life and a cooling effect).

How to Apply your DIY Rosewater Facial Toner Using a Cotton Pad
- Soak the Pad
Pour a good amount of toner onto a clean cotton pad—enough to dampen it, but not dripping. - Start from the Center Outward
Gently sweep the pad from the center of your face outward, starting at your nose and moving toward your cheeks, chin and jawline. This follows your natural lymphatic flow and helps avoid pushing impurities into your skin. - Forehead & T-Zone
Wipe across your forehead from the middle outward and glide down your nose and chin where oil tends to build up. - Neck Area
Don’t forget your neck! Sweep upward from your collarbone to your jawline with light strokes. - Follow with your favourite moisturizer or facial oil
 Use morning and night to refresh, tone and prep your skin for hydration.
This simple DIY Rosewater Facial Toner is a skin-loving staple that adds elegance and effectiveness to your routine. With just a few ingredients and a couple of minutes, you’ll have a soothing facial mist that feels like a mini spa treatment every time you use it.
Say goodbye to harsh chemicals and hello to natural radiance—one DIY product at a time!
Want to make it your own? Try these combinations:
- Oily skin: Add 1 tsp apple cider vinegar (natural astringent)
- Dry skin: Add extra aloe vera or a few drops of jojoba oil
- Sensitive skin: Stick to just rosewater and aloe
Pop into my Instagram page https://Instagram.com/NavyHeart.ca if you’ve liked this post to be up to date with any new content I create.
Thank you for visiting my page! I hope you loved this recipe as much as I do!
As I am just starting this blog, I would be very appreciative if you look through my other recipes and share any ideas of what else you would like to see. My Focus is on Healthy Recipes, DIY Essential Oil Infused Self-Care and Natural Based Cleaning Products.
